

So You Want to Actually Play?
Well, first of all, I must congratulate you for coming this far. I never expected that I might be giving out advice on how to start your own actual play podcast, nor that you might actually listen. But I get where you’re coming from. Clearly it’s because I read your mind or simply because I’ve been in your shoes at some point.
Podcasting is a lot of fun, but it’s a lot of work and is most certainly not for the faint-of-heart. But if you bear with me, I can (possibly) help you to open the door to a whole new world of severe audiophile editing and sleepless nights of wondering if the episode rendered properly. And although I’m talking about AP podcasting, all of this advice is also applicable to regular podcasting. So, without further ado, let’s get started.
Determine Your Purpose
First and foremost, before you even move on, please consider your reasoning for wanting to become a podcaster. Specifically, for our purposes, it is someone who roleplays and improvises almost every aspect of what should normally be a planned form of entertainment. Are you seeking fame, fortune, a new experience, or simply wanting to remember those sweet moments of victory?
Whatever your reasoning, hold onto that. Discuss it with your group, if you have one. Your reason for starting your AP podcast will be your guiding light towards success as well as your ground when things seem overwhelming. And perhaps this is the time to ask yourself, “is this a good reason?”
For example, wanting to be the next Adventure Zone or Critical Role is a pretty lofty goal in a very niche market. Is it a bad goal? Not necessarily. But is that really something you can stick by no matter what circumstance comes around? Your purpose should very much be personal and something that you absolutely want. Because otherwise, the little gold nugget you discovered in actual play podcasting will become fool’s gold that you might very well toss aside without another thought.

Is There Room at the Inn?
Proverbial speaking, yes. While AP podcasting is a pretty niche market that has been recently flooded with many other APs, not every itch has been scratched. When you enter this community of podcasters, you will quickly discover a new family awaiting you. One of the unique aspects of being part of AP podcasting is, at least from my experiences, that this is not a competition.
However, know that due to the niche you’re entering it has a much smaller audience then someone who has a health and wellness podcast. Unfortunately, many lay-people don’t care for or know what roleplaying games are. But, actual play podcasts have the opportunity to play a very special role in introducing more people to the wonderful world of roleplaying.
So the answer is that you are needed. And I highly recommend engaging in the What Do You Do and Playcaster’s Society discords. These are wonderful communities filled with people who have a wide variety of expertise and experiences in the actual play podcasting world. I also highly recommend checking out this insane list curated by the Tabletop Bellhop with the ever growing list of AP podcasts available. I hope to see you on there one day as well.
So How Do I Actually Play Then?!
I firmly believe that you must walk before you can run when it comes to starting an actual play podcast. When I first came into this scene, I was quickly overwhelmed and had to learn a lot the (very) hard way. So my goal is to make this as easy as possible, as well as offer you some insight on how to get the best start that you can.
No, like seriously. I don’t want you to start with the extremely popular Blue Yeti. Emphasis on DO NOT. I’ll even put it in it’s own paragraph.
DO NOT BUY THE YETI MIC. Here’s a meme.
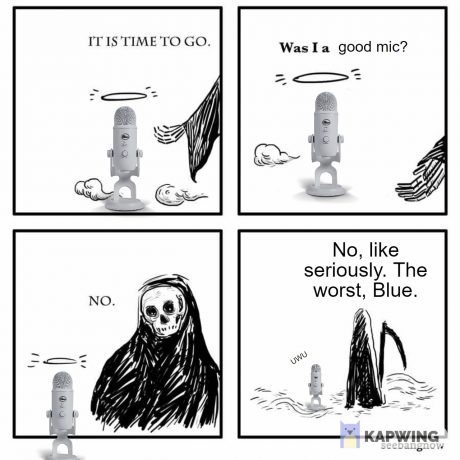
No matter how cool it looks or if your favorite streamer uses it, don’t do it. It is not a good mic for podcasting unless you know what you’re doing. And for that matter, I also highly recommend avoiding condenser mics when you’re first starting. Just listen to episode 1 of our AOD campaign and then listen to episode 0.
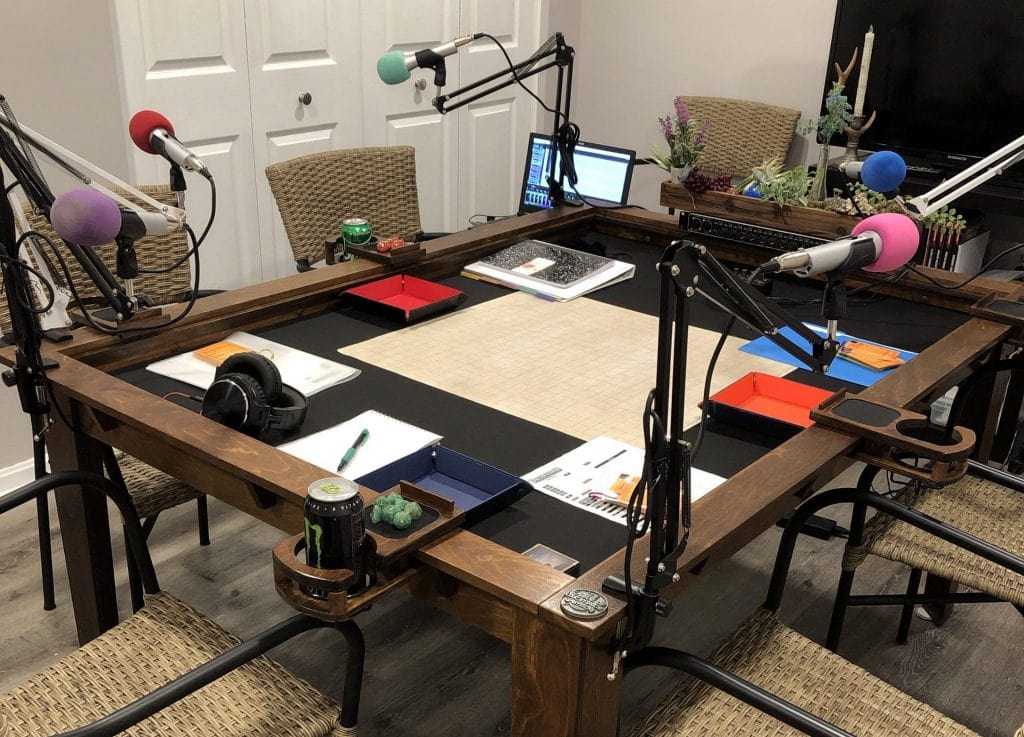
Now, episode 1 was started with two people and one blue yeti microphone sitting on the floor between them. Over time we improved our setup and it went from one mic on the floor to two mics on a table with a blanket fort to five dynamic microphones on boom arms and shock mounts. Episode 0 involved two dynamic microphones appropriately gated and distanced away from the speaker. All of these changes happened within the first year of the podcast. And it made a huge difference in engagement from our audience.
So, now let me tell you what you actually need to have.
Meet My Friends, Time and Money
It goes without saying that in order to have a podcast you have to have two things in order to start, yet alone succeed. Billy Coffing from Fandible, another AP podcast, said it best, “you invest time and you invest money into a podcast. If you want to keep your audience’s attention, you need to invest both of these things. “
Time
So here’s a quick bit of math for you. You can assume that on average, for every hour of recorded audio you will have to spend twice that on the edit. Let’s say you record for four hours. You will need to set aside eight hours to edit that audio. And this is only if everything in your recording is good to start with. I’ve also found that this usually applies to highly experienced editors as well. So let’s add 2 hours for fumbling around with controls. Now you’re at 10 hours. If you add music in during the post-production, add two more hours. Oh, but that’s only if you have all the music or sounds you need already on your PC. Are you picking up what I’m putting down?
No matter what, you will have to spend time on the audio in post. Unless you’re the kind of person that is okay uploading RAW audio for that “sitting at the table experience.” My personal preference for that is a big ole “nope.” All of our episodes are meticulously edited because we want the polished end-result. And that can really make-or-break it for your audience, which will also require time in getting to know who your listeners are.
So now that I’ve drilled it into your head that you’ll need lots of time, there’s one last thing we need to address regarding this aspect. And that is consistency.
When you’re first starting out you’ll have some wiggle room with this. But now is the time to determine your consistent release schedule. Are you going to be weekly, bi-weekly, or something else? You have to do what is within reason for you and your group. If you record on Saturday don’t expect to release that episode on Sunday. In fact, I highly recommend recording multiple episodes before you release. But we will discuss this later.
Setting up a consistent release schedule will help you plan your editing, social media announcements, giveaways, and give your audience something to look forward to.
Money
I feel like money is a pretty tough topic to discuss. Sure you can start with the bare minimum using a phone microphone, but in the end, you’re going to want to have good audio quality. It just comes with the territory and I will not lie, the pursuit of good quality is addictive and never-ending.
A lot of what is spent is also dependent upon how you’re going to go about recording and the number of people involved. But one thing is certain, whether you do things online or in-person it is going to be a big investment for everyone involved. I’m going to offer you some advice on equipment you should get, which hopefully is within a reasonable budget for you and your group.
I only feel comfortable recommending what I know and use. So feel free to completely ignore my recommendations and do whatever you want. But what I’m advising is something that I know works. So take it as you will.
This is equipment we are using in our current setup here at MRPF:
(FYI: If you buy stuff using our referral links, we get a little commission. So that is always nice.)
Microphone
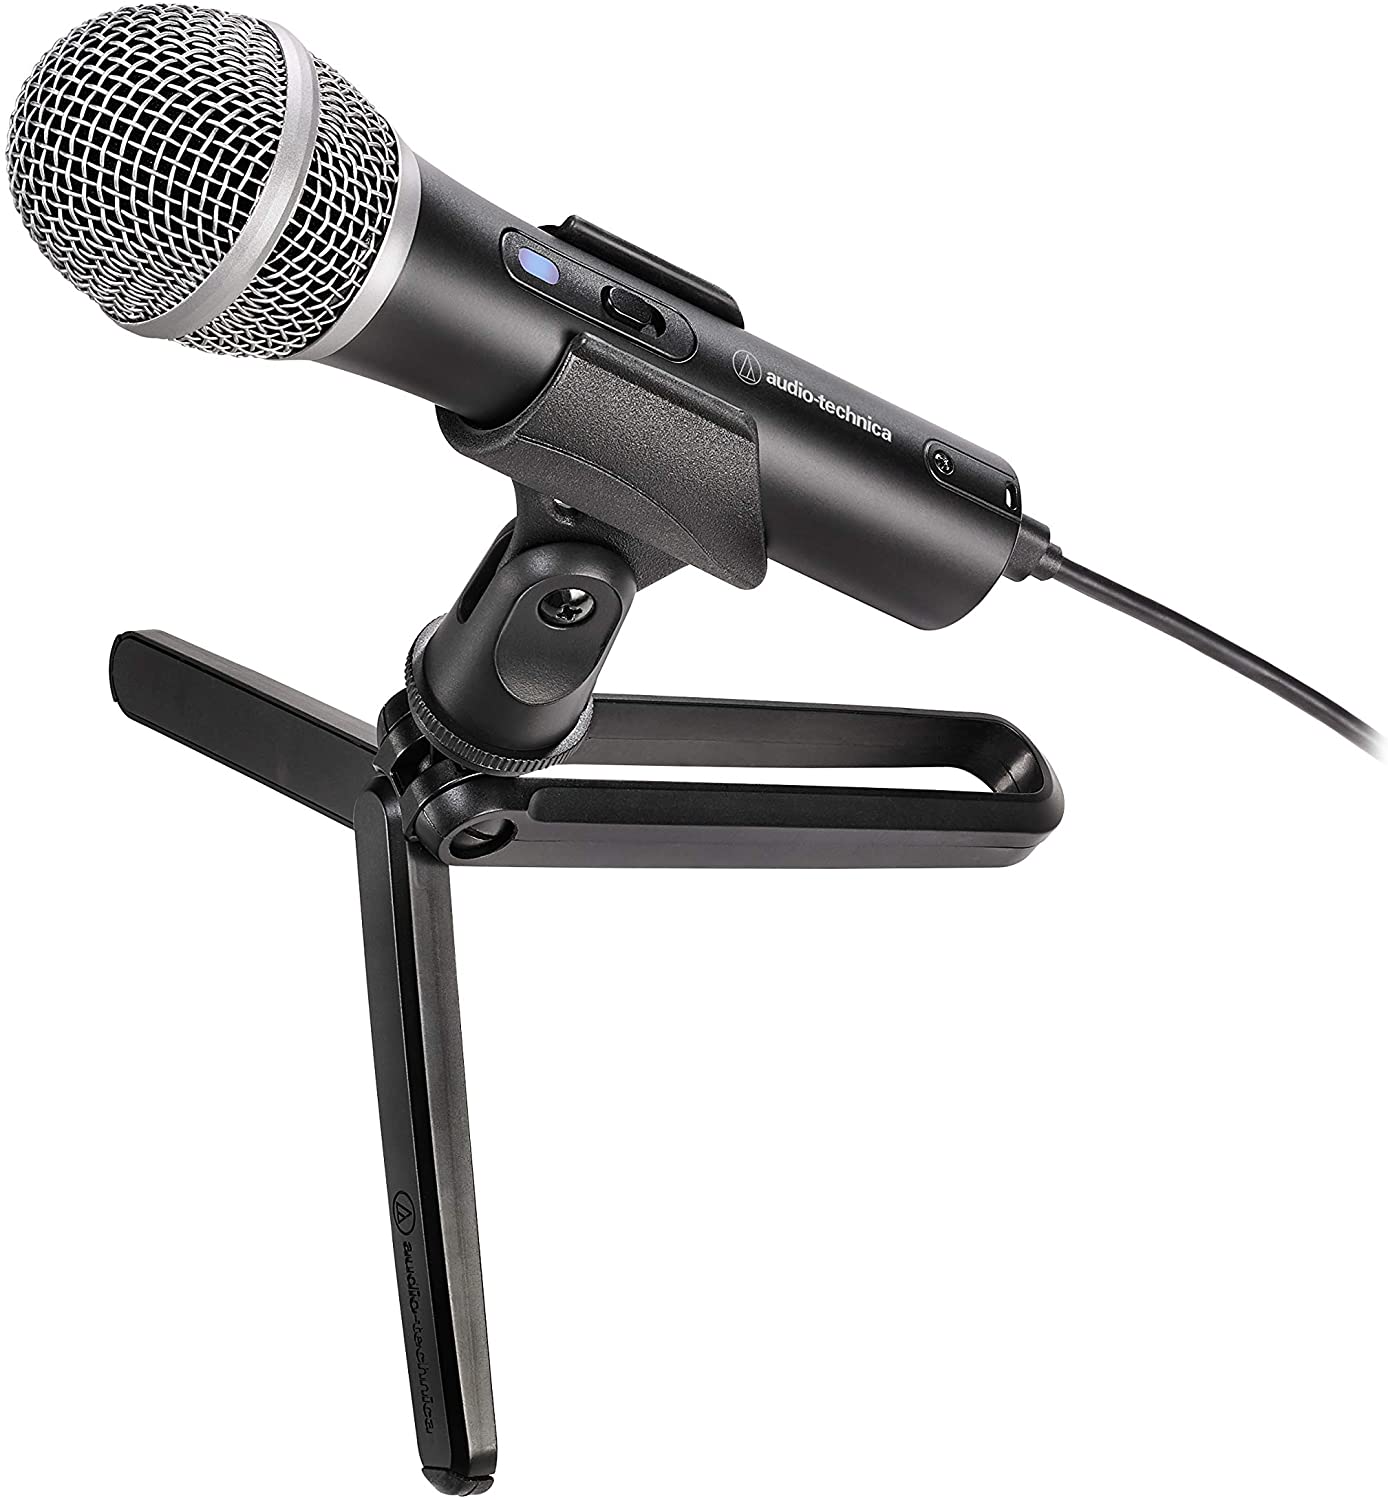
One of the most popular microphones used in the podcasting world is the ATR2100. With a price point under $70, it was a steal for the quality. This is a dynamic microphone with both an XLR and USB input, making it uniquely versatile.
Unfortunately, this model was discontinued this year and has been replaced by the ATR2100x. It has a higher price of $99 with a very minor difference in sound and utilization of USB-C . Not really worth the price change in my opinion.
Although this microphone is no longer available in the model that we have, the ATR2100x (pictured left) may be a good option if it goes on sale. Otherwise, I recommend the Samson Q2U which is basically the same thing as the original ATR2100 and sits at $60.
If nothing else and you find another brand or microphone that you like, I highly recommend keeping uniformity in the microphones you select. Every brand and style will sound different, which makes more work on the back end when you’re mastering your audio. To help save time, it’s better if you or your editor only has to deal with one mic type throughout the entire edit.
Headphones
Have you ever sat down and listened to your own voice before? Do you hate the sound of your voice? Well unfortunately or maybe even fortunately for you, you're going to have to learn to love it. Monitoring your audio while speaking is essential to having high quality content. You're going to learn all of the disturbing and disgusting habits you have when speaking. Believe me, you do have them and you'll want to correct them.
I can't count the number of times I've had to cut my own tongue clicking or Quintin's spit sucking. I have nightmares about this stuff.
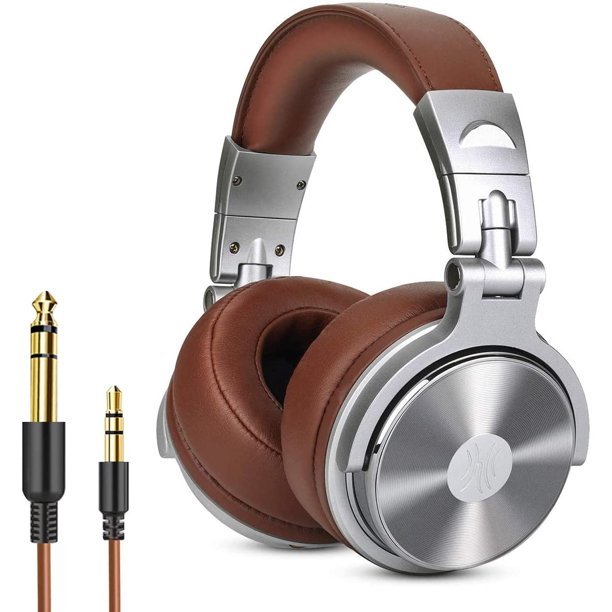
Actual play podcasting will have you sitting for hours while recording. You’re going to want comfortable headphones that either plug into the mic or your audio interface. This is why I bought the OneOdio over-ear headphones for our group. And I do mean that I got a pair for each person.
They come in several different colors with varying prices, but usually sit around $40. Now hear me out! You can absolutely use your standard 3.5 mm AUX cabled headphones through your mic or microamp with a 3.5 mm to 1/4″ (TRS) adapter. But this headset has both a 1/4 ” and 3.5 mm plug built in that also allows you to daisy-chain infinitely without loss of audio. “Daisy-chaining” essentially refers to connecting the headphones to another headphone via a cable.
If you haven’t noticed, I like products that have versatile features, good quality, and can be used in multiple scenarios.
Now, you can stop here as this would be the absolute bare minimum hardware, besides a computer, that you would need to start a podcast. But I am going to share the rest of our setup with you because one day you may come back here and ask “what else is there?”

Oh, Prince Derek you simple, handsome man. Alright, fine, I’ll tell you.
From here on, however, this will mainly apply to people who will be recording in-person, save for a few accessories.
Audio Interface
You might not need something like this at first. Perhaps, unlike me, you find a way to make multiple USB microphones plug into one PC/MAC without a hitch. But if you one day discover unexplainable static that generates after an hour of recording which then requires you to stop the recording, unplug everything, plug it back it, and start recording again...and then discover that you have to plug each mic directly into the PC so it's properly grounded and does not build up static but you don't have enough USB ports, you may wonder if there is any solution at all.
I'm here to say, yes there is.
Let me introduce you to the audio interface. An audio interface basically takes the input from your XLR microphone and sends it into your computer and back out. It’s a wonderful thing that is absolutely needed for anyone who uses anything that isn’t USB. Our first audio interface was a very simple 8-channel Behringer U-Phoria UMC1820 which I believe I paid about $300 for. I know it seems like a lot, but it was far cheaper than the more popular cousin, the Focusrite Scarlett 18i20 which is $500 for the same features.
Now, many podcasters happily use something called a “mixer.” Which takes all of the inputs from your XLR microphones and, frequently, down-mixes the audio into a single track. I do not like this. If you do, wonderful, go get a mixer because they are cheaper. They do a myriad of other things, but the deal-breaker was the downmixing. Just make sure it can plug into your computer because some do not. Please read the reviews.
I mention mixers because I was still not satisfied with the Behringer that I had picked up. Yes, it did the job. But we ran into an issue where we were doing several people in person and one was online. I absolutely hated having to use my phone and earbuds underneath my OneOdio headphones in order to hear the person through discord. It was a big hassle and I wasn’t happy. Thinking back on it now, I may have been able to route the computer audio back out to a channel on the interface but I had no patience for it at the time.
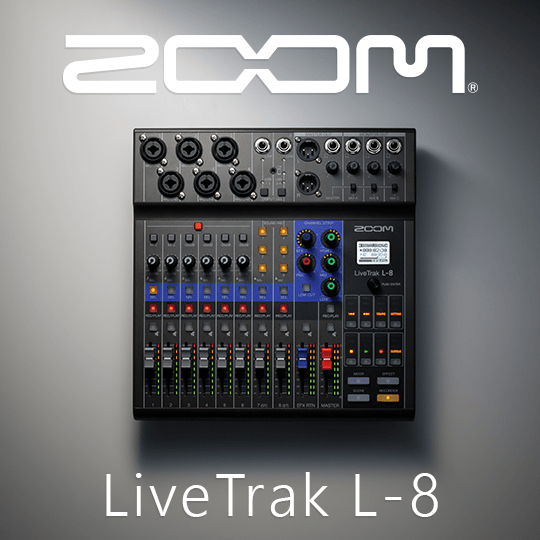
So, in my search for the perfect solution I found the Zoom L8, pictured above. First of all, something you may notice while looking at mixers is the fact that many do not have more than four microphone inputs. It may say six, but the last two are usually line inputs used for instruments. I have not tried using XLR to TRS adapters, but that may be the work-around for that issue. However, as I mentioned previously, most mixers turn all of your audio into a singular track, unlike an audio interface which records each mic to its own separate track.
The Zoom L8 is no such mixer, but it is a mixer that acts as an audio interface. You have six microphone tracks that require no work around to use, four monitoring outputs, takes input from the USB, and it’s portable. Coming in at $400, my wallet and I cried, but only one of us shed tears of joy.
As it was stated in the beginning, this is an investment. I plan on using this sucker until the day I die. Ahem, moving on.
Microamp
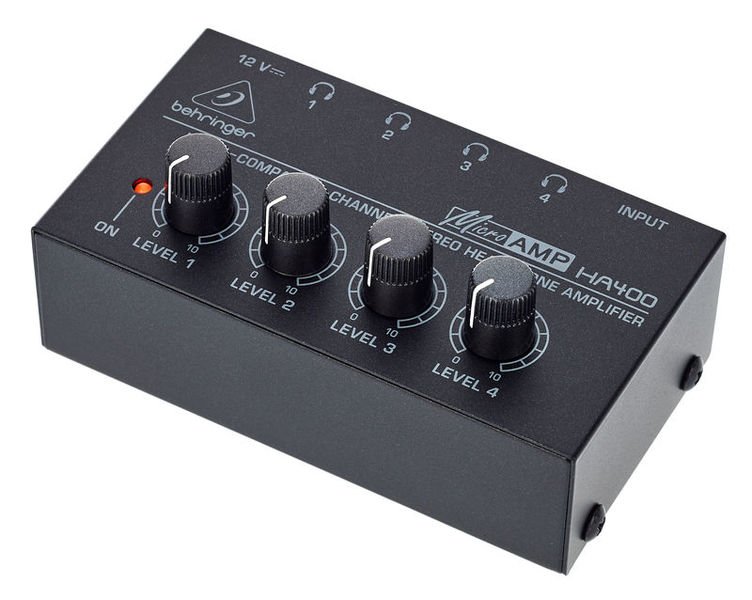
The microamp is essential with the use of a mixer or audio interface. Unlike a headphone splitter where the quality of audio degrades with each additional headset plugged in, a microamp maintains quality and allows individual adjustment of volume. Now here's the deal.
You can absolutely plug directly into your microphone if it has a port for monitoring. However, most microphones do not let you hear the recording as it being done through the computer. You might only hear the RAW mic sidetone. Meaning you hear everything you're saying without any FX.
This is not ideal if your audio program has a noise gate set and you or a member of your podcast is speaking but they can’t hear that their voice is cutting in and out because of the gate that keeps closing them out.
So, the microamp allows you to monitor what the actual recording sounds like through the mixer or the audio interface, as long as you have it set to do so. If you didn’t know, computers aren’t smart and they only do what you tell them to.
I specifically use the Behringer HA400 which has yet to steer me wrong, despite some reviews that discuss some issues. It is usually priced around $24
Accessories
Now let me cut to the chase here and just tell you that at some point, you’re going to want these things. It doesn’t matter what brand because they all do the same job and you can probably find cheaper prices if you dig further. The only thing to note is if it will work for the microphone that you have.
A condenser mic tends to be a lot thicker and heavier than a dynamic microphone. So for the shock mount, you may have to actually buy one that is made for your mic or get a universal one that has the potential of being too small. But without further ado:
- Scissor Arm – Allows you to adjust the microphone on the table so you can sit more comfortably while recording. It does require at least 1.5″ of flat surface for the clamp to tighten onto. You can get one for about $14 or maybe even cheaper now.
- Windscreen – You can either do these or a pop filter. But I find that pop filters obstruct my vision too much during play because of their large diameter. I’ve linked a pack because they’re so cheap at 10 for $10.99
- Shock Mount – You can actually put your soda down on the table (gently) and your mic won’t pick it up. It’s the editor’s life saver. The one I linked is universal and good for the dynamic microphones that I listed. I believe this one is about $11, but there are cheaper ones.
The good news is that we’re getting to the end of this article. But there is one last thing we need to talk about before you’re ready to go off and start recording.
DAW, And No I'm Not Calling You Cute
At this point, you’re probably like, “Snow, I got the stuff. Now how do I put that into my computer?” And my answer to you is, “with recording software, duh.” Or actually, DAW. This is acronym means Digital Audio Workstation. But here’s the cool thing about DAWs. They don’t just record your audio. They also allow you to edit and produce your audio. Some very popular DAWs include Audacity, Reaper, Garageband (Mac only), and FL Studio.
Out of the four I listed, I have never used Garageband mainly because I do not have a Mac. But I have heard good things about it and it’s also free, as most of the options are, except for FL Studio. Well, actually Reaper isn’t free but it has an unlimited trial and a low price point which I am eternally grateful for.
If you couldn’t tell, my top choice here is Reaper. Audacity is fine, but you can’t record multiple tracks at once and it just appears dated. So it doesn’t really fit my needs, but I guess it’s okay if you are recording mono track. And honestly, I’ve only seen people recommend it out of all the free options because of it’s Noise Reduction plugin, which is okay.
FL Studio is expensive and is mainly for midi recording, but the mobile version is reasonably priced so I’ve only played with it on my tablet and thus it might be an option if you’re traveling light.
But Reaper, oh Reaper. She’s the bread and butter. An extremely versatile DAW with a beautiful UI. My mouth waters when I think about her.
What it comes down to is that Reaper is a living DAW that is actively updated and has a lot of community support. Reaper even has it’s own series of videos that go step-by-step on how to get things to work. It is very easy to record multiple tracks which is exactly what I needed. I also found that scrubbing audio was much easier in Reaper than Audacity, which is a way that you navigate your audio during playback.
If you go with Reaper, I highly recommend reading this article by Riley Byrne, the owner of Podigy. He goes into a thorough breakdown of how things, such as EQing, work and an ideal starting setup to make your edits move quickly. I also recommend checking out these videos on Noise Gating and Compression in Reaper by Kenny Gioia.
And that just about wraps everything up.
Welcome to the World of Podcasts
First of all if you’ve made it through this entire article, congratulations. I’ve been meaning to write this for a while and I had a lot to say. I love what I do and even though this could very well end up becoming a neverending sink hole of money, I’ll still have the recordings of all the crap I went through to make people sound good. I’ll get to look back on this and say, “look how far I’ve come!” And I hope that one day you will join the rest of us in our sufferin…enjoyment. Which leads me to the next point.
I’m assuming now that you’ve made it to the end of the article you’ve reached a conclusion of whether or not podcasting is something you CAN and WANT to do. If what I’ve written seems overwhelming, then please take a deep breath while I relieve you of that stress.
We all have to start somewhere. Whether or not it’s with one mic on the floor surrounded by a pillow fort or with all the high tech equipment and not knowing what to do with it. It’s okay to start with a little and build up to something bigger. That’s what we’ve had to do.
All the advice that I’ve curated into this post is for your benefit. I want you to succeed right off the bat and not have to struggle with little hiccups that slow down the production of your content. I know we didn’t really touch directly on actual play podcasts. But that is because AP is podcasting. You have to learn to podcast before you actually play.
We will be expanding this topic in future articles, so I hope you keep your eyes peeled. And of course, if you have any questions you can reach out to us or those members in the What Do You Do and Playcaster’s Society discords.
Recent Comments